Indoor Plants Care Guides: 7 Fast Remedies to the Problems of Dry Soils
Is the soil of your plant cracked, pale or rock-hard? Would water not pour directly through the pot, and never take the trouble to become damp? You’re not alone. One of the most significant issues that indoor plant owners experience is dry soil, which is good as it can be fixed.
In this guide, you will get to know the actual cause of dry soil, and the seven quick solutions that can fix the issue in a very short time. These tips apply to both the novice plant parents and those who have had years of experience growing house plants, as they will help them to revive their plants.
Let’s dig in.
Why Dry Soil Is a Big Deal with Indoor Plants
Soil is more than just dirt. For your houseplant, it’s home. It contains water, nutrients and small air pores in which roots breathe and develop.
When soil becomes too dry, a few bad things occur:
Roots begin to contract and withdraw out of soil. The nutrients cannot be transported to the plant. The land turns hydrophobic — meaning it literally repels water rather than absorbs it. Leaves get yellow, dry or fall down.
When you have ever watered your plant and the water just drains through the bottom without leaving a drop in the soil, then that is hydrophobic soil at work. That is exasperating, yet not without a remedy.
What Causes Dry Soil in the First Place?
Whether it is a jump to fixes, it is good to understand what has gone wrong. The most frequent causes of soil drying up too quickly are as follows:
Watering too little — Missing watering sessions can add up.
Poorly water-holding pots — Small pots dry up much more rapidly than large ones.
Dry air in the house — The air conditioners and heating systems drain the humidity out of the air and the soil.
Fast-draining soil mixes — There are potting mixes which are too gritty to allow roots to absorb water.
Hot or sunny places — Plants under windows or heaters will quickly dry out.
Root-bound plants — Once roots occupy the whole pot, there is little soil left to absorb water.
Knowing what is causing it can assist you in selecting the appropriate fix. Now let’s get into the solutions.
Fix #1 — Bottom Watering: Watering the Soil to the Root
Most people do this, also known as top watering, in which they pour the water on the top and allow it to flow down. However, in cases where soil is very dry, the water does not get absorbed. It merely slides on the sides of the pot and drains through the drainage holes.
This is entirely solved by bottom watering.
How to do it:
Place your pot into a shallow tray, bowl or sink with a little water. Let it sit for 20 to 45 minutes. Water will be drawn through the drainage holes and the soil will gradually absorb it. After dampness appears on the top layer of soil, pull out the pot and drain off all the excess water.
This technique causes the even penetration of water in the entire root zone. It also stimulates growth of roots downwards, thus making plants strong.
Best for: Succulents, snake plants, pothos, peace lilies and any other plant whose soil is grossly compacted and dry.
Fix #2 — The Skewer Trick: Poke Holes to Let Water In
This sounds too easy, yet it works. The soil becomes bone dry, resulting in compaction and hardening. Water does not percolate the surface, and thus it flows along the edges.
Poking holes causes the soil to loosen so that roots can get water.
How to do it:
Take a wooden skewer, chopstick or pencil. Push 8 to 10 holes into the soil softly, going approximately halfway down the pot. Take care not to poke through large roots. Water the plant slowly after making the holes.
The holes act like channels which guide water to the root zone rather than letting it run off.
Pro tip: Do this before each watering session if your soil tends to compact easily. It takes less than a minute and pays off big time.
Fix #3 — Wetting Agents: Smash the Water-Repelling Barrier
In situations where the soil has developed hydrophobia, pure water is sometimes inadequate to make the soil wet again. That is where wetting agents come in.
A wetting agent is a substance that lowers water’s surface tension, helping it spread and penetrate dry soil at a faster rate.
Natural alternatives you can try at home:
One small drop of dish soap in your watering can — even one drop per liter will do it. Yucca extract, a well-known organic wetting agent sold at garden shops. Aloe vera juice or liquid seaweed mixed in water.
How to use it:
Combine your chosen wetting agent with water. Water your plant gradually, allowing it to absorb between pours. Repeat once or twice over a few days until the soil gets back its moisture.
Do not excessively use the dish soap — too much will harm the roots of your plant. One drop per liter, once or twice, is all you need.
Fix #4 — Soil Rehydration Soak: The Full Reset
When the soil of your plant is so seriously dry — desert-level dry — one watering is not always sufficient. The entire root ball should be immersed in deep water in order to restore full hydration.
How to do it:
Add room-temperature water to a bucket or large basin. Remove any decorative covers from the pot. Submerge the whole pot (up to the rim) in the water. Allow it to soak for 30 minutes to an hour. You will see bubbles rising — that is trapped air escaping as water fills in. When the bubbling ceases and the soil feels heavy, take out the pot. Allow it to drain completely before putting it back in place.
This is the most comprehensive technique and works well for plants that have been left unattended over a long period.
Important: Only do this once. Once totally soaked, return to a regular watering schedule to ensure you do not swing to either extreme — too dry or too wet.
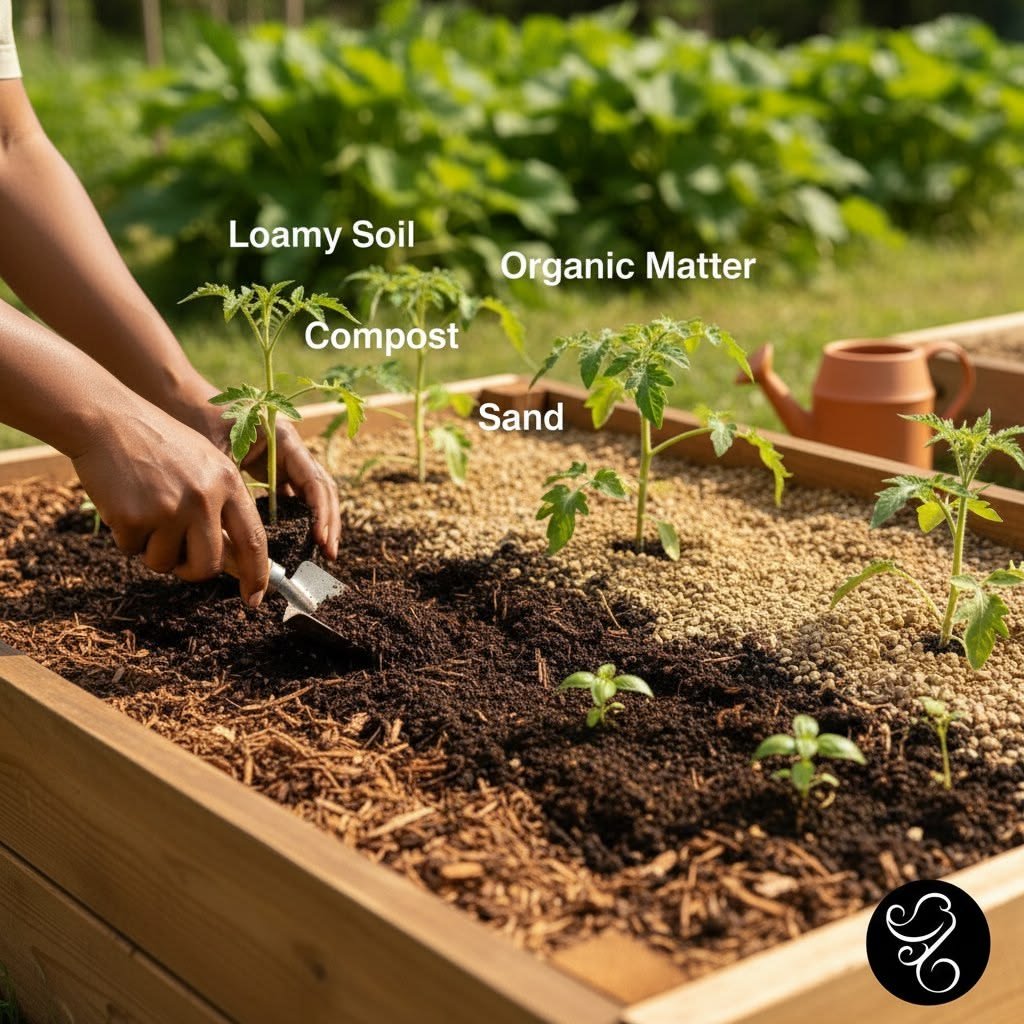
Fix #5 — Add Moisture-Retaining Materials to the Soil
Certain soils are simply not good at water retention. Sandy or gritty mixes drain too fast, leaving roots thirsty. The fix? Improve the soil itself.
The most appropriate materials to mix in include:
| Material | What It Does | How Much to Add |
|---|---|---|
| Coconut coir | Holds water without becoming soggy | 20–30% of soil mix |
| Perlite | Enhances aeration and maintains some moisture | 10–20% of soil mix |
| Vermiculite | Retains water and nutrients well | 10–15% of soil mix |
| Peat moss | Stays moist, slightly acidic | 20–25% of soil mix |
| Biochar | Enhances water retention and soil health | 5–10% of soil mix |
How to use this fix:
You do not even have to repot the whole plant at once. Top-dressing the soil can be done — that is, removing the top inch of soil and replacing it with a moisture-retaining mixture. Or, when repotting next, mix these materials into your potting soil.
Coconut coir is particularly favored because it is sustainable, retains a lot of water, and does not compact easily.
Fix #6 — Mulching the Soil Surface: Stop Water From Evaporating
Evaporation is sneaky. Water escapes through the soil surface even after you have watered your plant. In dry indoor environments, this occurs more quickly than one can imagine.
Mulching the surface of your pot reduces evaporation tremendously.
What to use as indoor plant mulch:
Moss — Sphagnum or sheet moss works great and looks beautiful. Small decorative pebbles or gravel — cover the top inch of soil. Coconut coir chunks — functional and natural looking. Wood chips or bark — used in large pots only.
How to apply it:
Water your plant first. Then spread your preferred mulch — half an inch to one inch — over the soil surface. Keep it away from the base of the stem to avoid rot.
This simple trick can reduce how often you need to water by 20 to 30 percent, depending on the humidity of your home.
Bonus benefit: Fungus gnats will also stay away, since the soil surface remains drier — and they absolutely despise that environment.
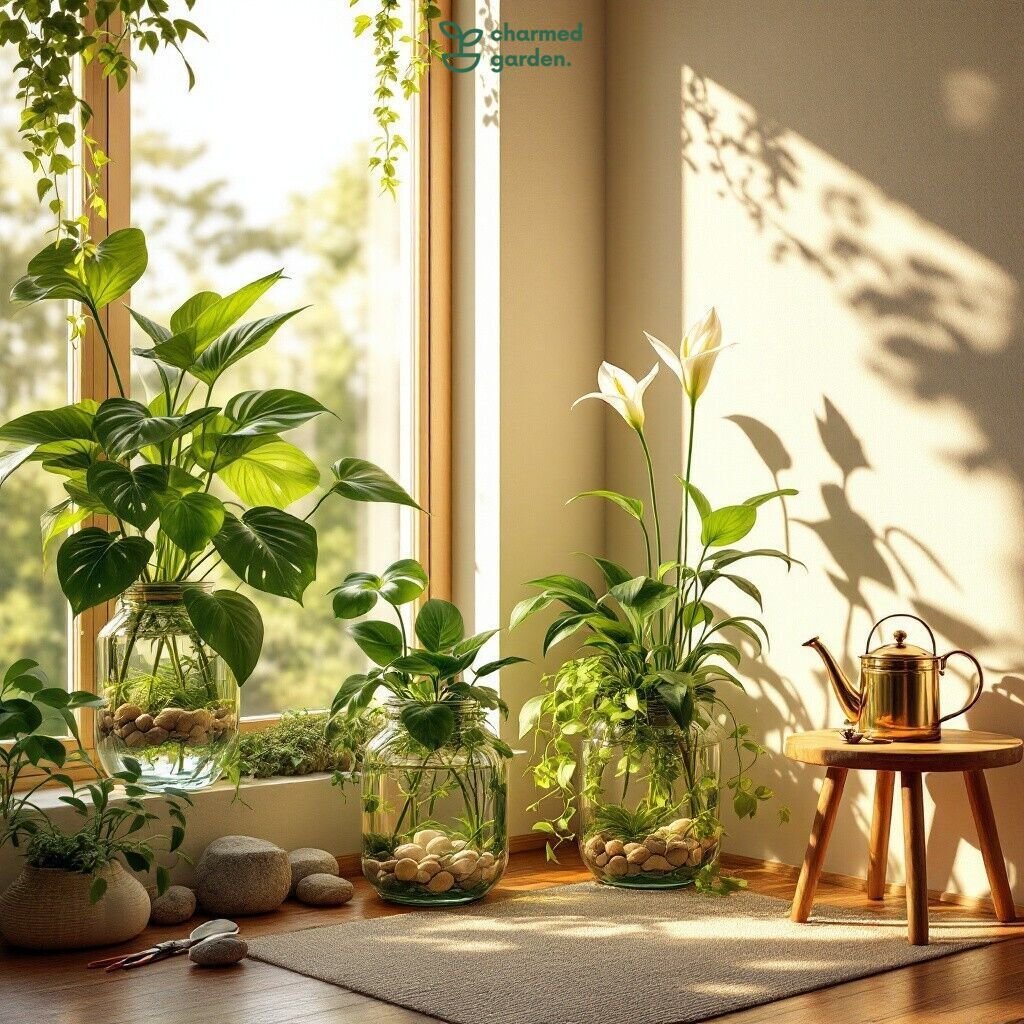
Fix #7 — Raise the Humidity Around Your Plants
Soil does not dry out from the surface only. The dry air in your house evaporates moisture directly out of the soil and the leaves of the plant at the same time. When the air surrounding your plant is too dry, you will be fighting an uphill battle despite all the watering you do.
For more expert tips on keeping your houseplants thriving year-round, visit Indoor Plants Guide — a reliable resource packed with beginner-friendly and advanced plant care advice.
Ways to humidify the air around your houseplants:
Use a humidifier — The best approach. Place it close to your plants for a few hours a day. Group plants together — Plants release water vapor through their leaves, also known as transpiration. Grouping them creates a little humid microclimate. Pebble tray — Take a shallow tray, fill it with pebbles and water, and place the pot on top. As water evaporates, it adds moisture to the surrounding air. Mist the leaves — This works in the short term but not the long term. Mist in the morning so leaves dry before nighttime.
Ideal humidity levels for common houseplants:
| Plant Type | Ideal Humidity Range |
|---|---|
| Tropical plants (Monsteras, Calatheas) | 60–80% |
| Ferns and orchids | 50–70% |
| Succulents and cacti | 20–40% |
| General houseplants (Pothos, Philodendrons) | 40–60% |
An inexpensive hygrometer — a gadget that measures the humidity of the air in your room — can tell you the exact humidity level. They are only a few dollars and eliminate the guesswork from plant care. According to the University of Missouri Extension, most common houseplants grow best when indoor humidity is kept between 40 and 60 percent.
How to Determine the Right Fix for Your Plant
Not every fix works in every situation. The following is a brief guide to help you choose the most suitable approach:
| Problem You’re Seeing | Best Fix to Try First |
|---|---|
| Water runs straight through the pot | Bottom watering or full soak |
| Soil surface is hard and cracked | Poke holes + wetting agent |
| Plant wilting despite regular watering | Check humidity + bottom watering |
| Soil dries out within 1–2 days of watering | Add moisture-retaining materials |
| Moisture evaporating too fast | Mulch the surface |
| Entire root ball is bone dry | Full rehydration soak |
| Air in your home is very dry | Increase humidity + pebble tray |
Try one or two fixes at a time. Making too many changes at once may stress the plant.
Signs Your Dry Soil Problem Is Getting Better
After applying these fixes, how can you be sure they are working? Here is what healthy recovery looks like:
Soil stays moist longer — After watering, the soil does not dry up in a day or two but remains damp for 3 to 7 days, depending on the type of plant.
Water absorbs instead of running off — When you water, it soaks into the soil and does not pour straight out the drainage holes.
Leaves perk back up — Droopy or wilted leaves usually recover within 24 to 48 hours following adequate rehydration.
No more cracks in the soil — Healthy, damp soil remains smooth and soft on the surface.
New growth appears — New leaves or shoots are a sign that your plant has revived and is receiving the nutrients it requires.
Common Mistakes to Avoid When Fixing Dry Soil
Despite the best intentions, a couple of errors can slow down recovery. Watch out for these:
Overwatering after underwatering — It is tempting to flood a dry plant. But going from bone-dry to waterlogged may shock the roots and bring about rot. Rehydrate gradually.
Using cold water — Cold water may stress plant roots. Always use room-temperature water.
Ignoring the drainage holes — When clogged, water collects at the bottom and leads to root rot. Check them regularly.
Repotting too soon — Repotting is already stressful for a plant that is chronically dry. Fix the soil moisture first, then repot once the plant has recovered.
Using the wrong pot material — Terracotta pots are breathable and excellent for cacti and succulents. However, they dry out soil much faster compared to plastic or glazed ceramic pots. Switching pot types can make a big difference.
FAQs — Indoor Plants Dry Soil
Q: How often should I water my indoor plants to avoid dry soil? A: It depends on the plant. The majority of tropical houseplants require watering once the top inch of soil feels dry. Cacti and succulents prefer to dry out completely between waterings. Always check the soil with your finger rather than following a fixed schedule.
Q: Can dry soil kill my plant? A: Yes, when left untreated too long. Extremely dry soil leads to root damage, wilting and eventually plant death. However, most plants will be able to recover if you act promptly and restore moisture to the soil.
Q: Why does my soil dry out so quickly after being watered? A: This normally occurs due to low humidity, a small pot, fast-draining soil, a hot location or a root-bound plant. Try bottom watering and add moisture-retaining materials to your soil mix.
Q: Can I mist my plants every day? A: Daily misting is useful in exceedingly dry climates, although it does not replace proper watering. It may also promote fungal infection if the leaves remain wet too long. A humidifier or pebble tray is a more reliable humidity solution.
Q: When I re-moistened my soil it gave off a musty smell. What does that mean? A: A musty smell indicates fungal or bacterial activity in the soil. Ensure the pot has proper drainage and is not left in standing water. Allow the soil to dry slightly between waterings to deter mold growth.
Q: Do I have to replace my potting soil every year? A: Every 1 to 2 years, it is good to refresh or replace potting soil. Soil disintegrates, compacts and loses its ability to effectively retain water and nutrients over time.
Q: Can I use tap water to rehydrate dry soil? A: Yes, tap water works for most plants. But if your tap water is heavily chlorinated or fluorinated, leave it overnight in an open container before using it. Certain delicate plants such as spider plants prefer filtered or rain water.
Wrapping It All Up
Dry soil does not mean you should give up on your indoor plants. By using the correct method — whether it is bottom watering, poking holes, adding moisture-retaining materials or increasing the humidity within your home — your plants will recover much quicker than you would have thought.
The key is to pay attention. Touch the soil. Watch the leaves. Take note of how quickly moisture disappears after watering. Your plant has been sending you signals all along — you just have to learn to interpret them.
Begin with one or two of the fixes presented in this indoor plants care guide, give your plant a few days to react, and start adjusting from there. Indoor gardening is all a learning experience, and each mistake offers a lesson that can be applied.
Your green friends are worth it all — and now you have everything you need to keep their soil sound and healthy.