Four Simple Solutions for Root Rot
Your favorite plant is drooping. The leaves are turning yellow. You water it, and it only gets worse. Sound familiar?
You may be experiencing root rot — one of the most common and misunderstood problems in plant care. The frustrating part? Most people make things worse by watering more, jumping to the conclusion that the plant is thirsty.
This guide is part of the indoor plant care guides section here on Properly Water (and written by me, Lisa!) and we’re going deep on root rot today. You’ll discover what it is, how to identify it early, and four reliable fixes that can save your plant from the brink of doom.
Let’s get into it.
What is Root Rot and Should I Be Concerned?
Root rot is a disease when the roots of a plant get rotted. Healthy roots are white or tan and firm. Rotting roots are all shades of brown to black and mushy. They no longer can take up water or nutrients.
Here’s the thing: the roots are not up top; they’re down under. By the time you realize something’s amiss above ground, the damage below the soil can be quite severe.
Two things are responsible for root rot:
Overwatering is the No. 1 reason. When soil remains water-saturated for too long, it robs roots of the oxygen they need to survive. Roots suffocate and start to die without oxygen.
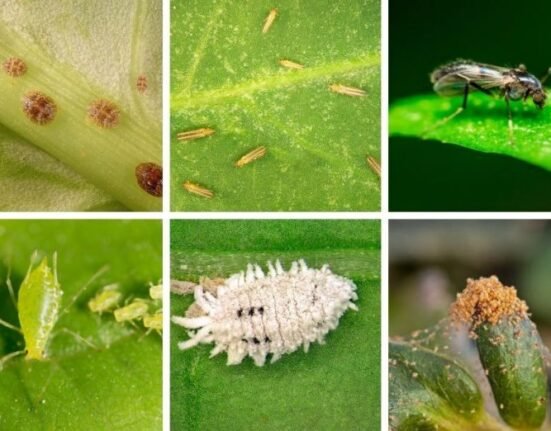
Fungal pathogens including Phytophthora and Pythium adore moist, poorly drained soil. These fungi spread quickly and target distressed roots. When they arrive, they become really hard to stop without doing something.
Both causes often work together. Overwatering simply smoothes the way for the fungi.
How to Tell If Your Plant Is Suffering From Root Rot
A plant is much more likely to survive root rot if you catch it early. Here are the warning signs to track above and below the soil.
Signs You Don’t Have to Dig Into
- Yellow leaves that do not get any better after watering
- Wilting or drooping, even when soil is wet
- Soft, mushy brown or black leaf tips
- Stunted growth, and no new leaves
- Soil or pot that smells sour or musty
What Roots Really Look Like
When you pull the plant up out of its pot, healthy roots should be white to light brown and feel firm. Roots that are rotting will appear dark — brown or black — and feel soft, even slimy if you squeeze them. In the worst cases, the root system may have all but given up.
Quick Root Rot Symptom Check
| Symptom | Healthy Plant | Root Rot Plant |
|---|---|---|
| Leaf color | Green and vigorous | Yellow, brown, or pale |
| Stem base | Stiff | Soft or mushy |
| Soil smell | Earthy or neutral | Sour or rotting |
| Root color | White or tan | Brown or black |
| Root texture | Firm and springy | Slimy and soft |
| Growth rate | Normal | Slow or stopped |
If you’ve observed three or more of these red flags on your plant, root rot is probably the culprit.
Why Indoor Plants Are More Sensitive
Outdoor plants have a natural edge. Rain comes, then dries out. The soil is aerated by insects and weather. Air circulates freely around roots.
Indoor plants don’t have any of that going for them.
They are grown in pots with scant drainage. They are dependent on you for water. The air is often stagnant inside homes. These conditions form the ideal setup for the emergence of root rot — particularly during the winter months, when your plant isn’t growing nearly as fast and all that water pools in the soil even longer.
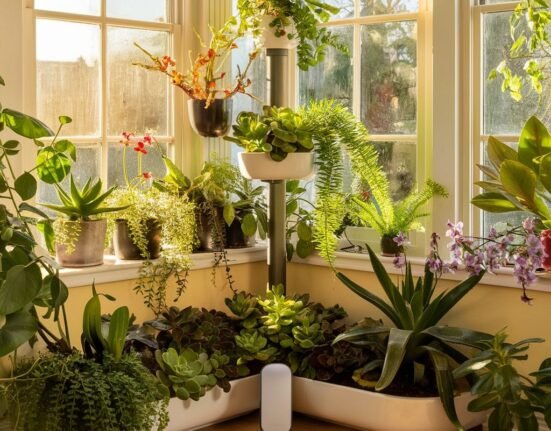
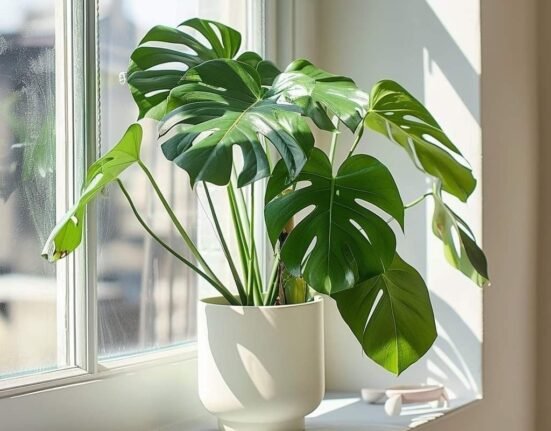
Popular indoor plants, including pothos, peace lilies, snake plants, and fiddle leaf figs are all extremely prone to root rot when overwatered. For a deeper look at how different plants behave indoors, Indoor Plants Guide is a great resource to explore.
Fix #1 — Pull It Out and Clip the Bad Roots
The first and most significant fix is also the most hands-on. The infected roots need to be removed physically before the rot can spread to healthy roots.
What You Need
- Clean scissors or pruning shears
- Rubbing alcohol or diluted bleach to sterilize your tools
- Fresh potting mix
- A clean pot with drainage holes
- Gloves (optional but helpful)
How to Trim Rotting Roots: Step-by-Step
Step 1 — Remove the plant from its pot. Gently tip the pot and slide the root ball out. Don’t yank the stem. Hold the base and slide it free.
Step 2 — Shake off the old soil. Fungi are carried in the old wet soil. Scrape as much off the roots as you are able. You can also rinse the roots in lukewarm water to see them more clearly.
Step 3 — Inspect every root. Locate those dark, mushy roots. They will be easy to find alongside the healthy white ones.
Step 4 — Remove all the rot. Trim the affected roots back with sterilized scissors until you reach healthy and firm tissue. If the decay has taken a strong hold, you might have to remove over half of the roots. That’s fine — it’s better to be aggressive than to leave rot behind.
Step 5 — Sterilize between cuts. Between each snip, wipe your scissors with rubbing alcohol. This ensures that you don’t spread any fungal spores from one root to another.
Step 6 — Let the roots air dry. Place the plant on a clean surface for 30–60 minutes. This gives cut ends an opportunity to callous slightly, and decreases the likelihood of re-infection.
Fix #2 — Treat the Roots With a Fungicide
Trimming may not be sufficient if the rot was caused by a fungal pathogen. Treating the remaining roots with a fungicide after cutting provides them with some protection as they recover and grow.
Fungicide Options That Work
Hydrogen peroxide (3%) is the most common and easy to use option. Combine one part hydrogen peroxide with two parts water. Then place the roots into this mixture for approximately 30 minutes. Correctly applied, it kills fungal spores without harming the plant.
Copper-based fungicides are stronger and can be found at most garden centers. Follow the product label instructions. These are great when you’re dealing with a massive outbreak.
Cinnamon powder is a cheaper, natural option. Dust it on the cut ends of the roots. Cinnamon contains an ingredient called cinnamaldehyde, which has antifungal effects. It won’t cure a major infection, but it offers some protection in minor cases and on fresh cut surfaces.
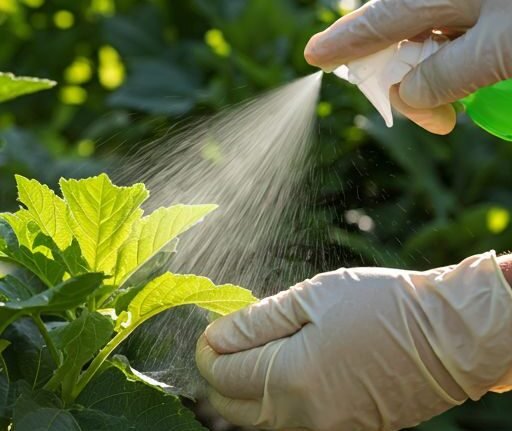
Neem oil added to your watering routine can also aid in keeping down fungal populations in the soil over time. According to the University of Florida IFAS Extension, fungal pathogens like Phytophthora and Pythium thrive in poorly drained, oxygen-deprived soils — making early treatment essential.
Fungicide Comparison at a Glance
| Treatment | Strength | Ideal For | Cost |
|---|---|---|---|
| Hydrogen peroxide (3%) | Moderate | Early to mid-stage rot | Very low |
| Copper fungicide | High | Severe infections | Medium |
| Cinnamon powder | Low | Mild cases, prevention | Very low |
| Neem oil | Low–Moderate | Prevention and mild cases | Low |
For the vast majority of home scenarios, hydrogen peroxide is the first choice in treatment. It’s cheap, easy to find, and works well enough for most cases.
Fix #3 — Repot Into Fresh Soil and a Better Setup
After the roots have been trimmed and treated, you can’t put the plant back into its old pot with the same soil. That soil is contaminated. Using it again would be like washing your hands and then wiping them on a filthy towel.
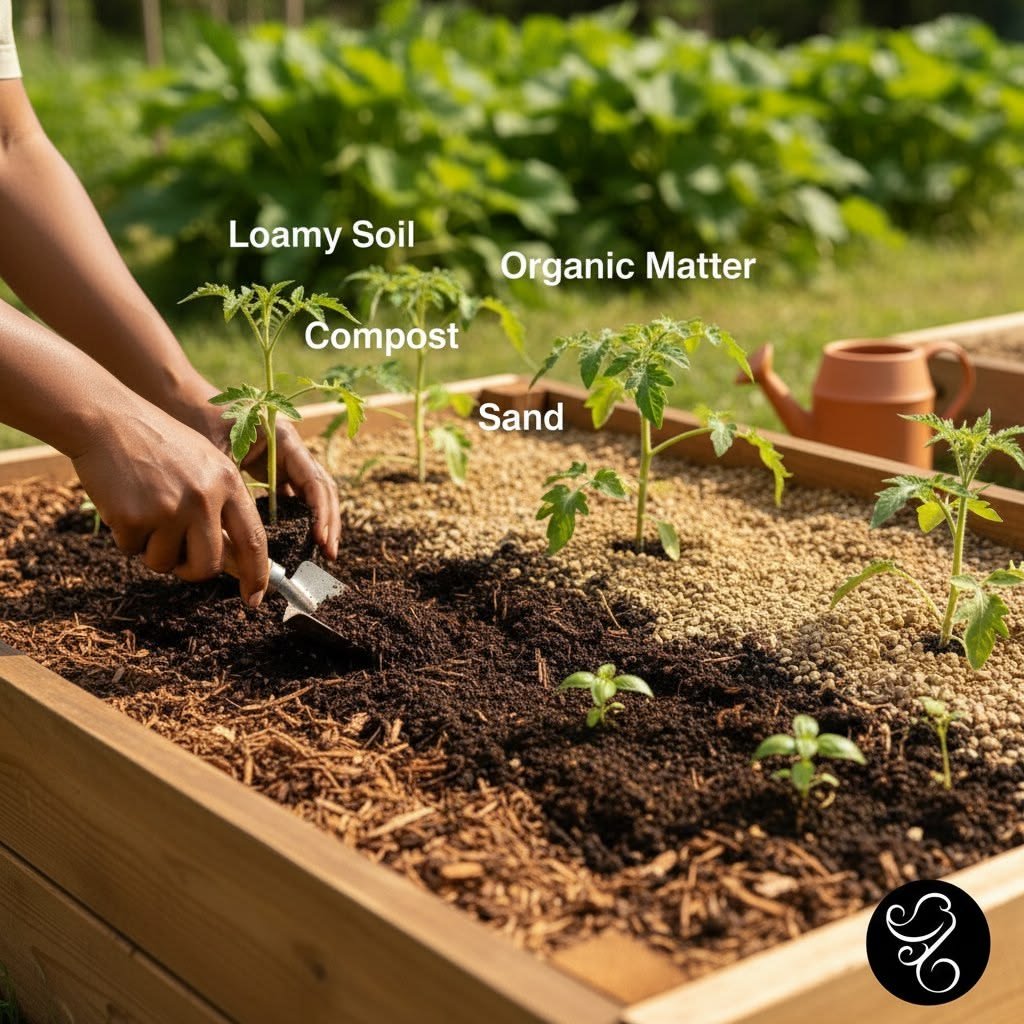
Choosing the Right Soil
Various plants require various soil mixes. The key to root rot recovery is good drainage. Water should flow through the soil promptly rather than being held around the roots.
For most tropical houseplants such as pothos, philodendrons, and monsteras: combine a standard potting mix with perlite at a ratio of 3 to 1. Perlite is the little white material that helps with airflow and drainage.
For succulents and cacti: use a specific cactus mix. These plants require soil that drains extremely quickly.
For orchids: use a bark-based orchid mix, not standard potting soil.
What to Look for in a Pot
The pot matters just as much as the soil. Here’s what to prioritize:
Drainage holes are non-negotiable. A pot without drainage holes will always accumulate excess water at the bottom. Regardless of how careful the watering, the roots will eventually sit in moisture.
Terracotta pots are best for recovery. They’re porous, which means they let air and moisture pass through the walls. This prevents the soil from remaining moist for extended periods.
Pot size should be proportionate to the plant. If the pot is too big, it holds more soil than the roots can use. That additional soil remains wet longer and increases the risk of root rot. Try to find a pot that is only 1–2 inches wider than the root ball.
Repotting After Root Rot: Easy Steps to Follow
- Place a fresh layer of potting mix at the bottom of the clean pot
- Place the plant in and gently spread out the remaining roots
- Add more mix on the sides, pressing lightly
- Leave about one inch from the soil surface to the rim of the pot
- Water gently — just enough to moisten the soil, not drench it
Fix #4 — Fix Your Watering Habits for Good
You can trim the roots, apply fungicide, and repot perfectly — but go back to that same watering routine, and root rot will come right back. This fix is about changing the behavior that led to the problem.
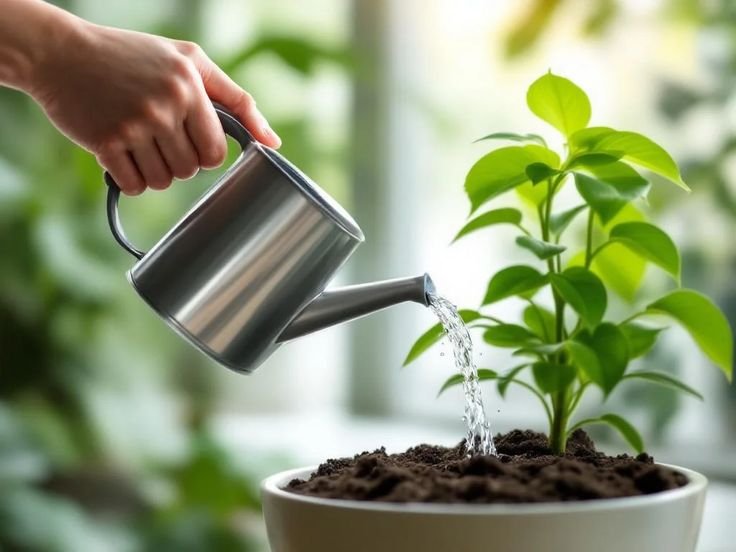
Rule #1: Check Before You Water
Stop watering on a schedule. Plants don’t follow calendars. Water requirements also vary depending on season, temperature, light, and plant variety.
Instead, use the finger test. Stick your finger into the soil about an inch. If it feels dry, water. If it still feels damp, give it another day and check again.
For drought-tolerant plants like succulents or snake plants, wait until the soil is completely dry before watering.
Additional Practices That Help Prevent Root Rot
Water deeply but infrequently. When you water, water well enough for it to start coming out the bottom. Then allow the soil to dry somewhat before watering again. This forces roots to grow deep, instead of spreading out and staying soggy.
Empty the saucer after watering. If water collects in the saucer under your pot, dump that out within 30 minutes. Plants sitting in standing water will wick it back up and remain too wet.
Reduce watering in winter. In the winter, most houseplants grow much more slowly. They use less water. Carrying your summer watering schedule well into fall and winter is one of the easiest ways to trigger root rot.
Improve air circulation. Airflow around your plants promotes faster drying of the soil surface. Having a fan going in the room, or placing plants near a window, can help.
Watering Schedule Guide by Plant Type
| Plant Type | Watering Frequency (Summer) | Watering Frequency (Winter) | Allow Soil to Dry? |
|---|---|---|---|
| Tropical (pothos, monstera) | Every 7–10 days | Every 14–21 days | Top inch dry |
| Succulents & Cacti | Every 14–21 days | Every 30+ days | Completely dry |
| Peace Lily | Every 5–7 days | Every 10–14 days | Top inch dry |
| Fiddle Leaf Fig | Every 7–10 days | Every 14–21 days | Top 2 inches dry |
| Snake Plant | Every 14 days | Every 30 days | Completely dry |
This can work as a starting point, but always trust the finger test over any fixed schedule.
Can Every Plant Be Saved?
Not always. That’s the hard truth.
If 80–90% or more of the roots have been affected with rot, there may not be enough left for the plant to recover. If the base of the stem is also rotted and mushy, it’s often too late.
But don’t give up without trying. Even a plant that looks almost dead can sometimes bounce back with aggressive root trimming and good care.
Signs That Recovery Is Still Possible
- At least a few firm, white roots remain
- The base of the stem is firm and green
- There is at least one healthy leaf or growing point
Signs It May Be Too Late
- The entire root system is black and mushy
- The stem is entirely soft and collapsing
- The plant has no leaves, or only dry, shriveled ones
If the plant is truly beyond hope, you could take stem cuttings from any healthy growth left and root them in water or fresh soil. In many cases, plants can be saved this way even though the mother plant may not survive.
How Long Does Recovery Take?
Recovery isn’t overnight. Here’s a rough timeline after repotting and treating root rot:
Week 1–2: The plant could look worse before it looks better. It’s in shock. Hold off on fertilizing. Water only lightly.
Week 3–4: Healthy root tips begin new root growth. You should start seeing a little improvement in leaf firmness.
Month 2–3: If recovery is working, you’ll see new leaf growth. The plant should begin to appear more upright and more alive.
Month 4+: With improved care, the plant should return to normal health with healthy new growth.
Be patient. Don’t overwater during recovery in the misguided aim of “helping.” It is the most frequent way people accidentally undo all their hard work.
FAQs About Root Rot in Houseplants
Can root rot spread from one plant to another? Yes. Fungal spores can be passed around on tools, in contaminated soil, or through water runoff. Always sterilize your tools between plants and never reuse soil from a plant with root rot.
Can I fertilize a plant that is recovering from root rot? No, not right away. When a plant is stressed and has a damaged root system, it won’t be able to take in nutrients properly. Fertilizing too early can actually burn roots and make a bad situation worse. Wait for vigorous new growth — typically at least two months after repotting.
What if I don’t have hydrogen peroxide? Do I really have to treat with fungicide? You can try without it, especially if the case was mild and you’ve removed all visibly rotted roots. But fungicide treatment is far more successful. Even cinnamon powder is better than nothing.
Does root rot always kill plants? No. If caught early and treated appropriately, many plants can recover full health. The trick is to act fast when you notice symptoms.
Can root rot occur even with good drainage? Yes. It’s still possible to get root rot if you water too often, even with drainage holes. Drainage helps, but watering practices matter just as much.
How can I stop root rot in low-light conditions? Plants in low light will consume water more slowly. Water less than you normally would in low-light spots, and always check the soil before watering. Try moving the plant to a brighter place until it recovers.
Is it normal for leaves to keep falling off after repotting? Yes. A little leaf drop is normal after repotting. The plant is redirecting energy to root recovery rather than maintaining leaves. As long as new growth appears within a couple of weeks, that’s a good sign.
The Bottom Line
Root rot is frightening, but it doesn’t have to be a death sentence for your plant.
The four fixes — trim rotted roots, treat with fungicide, repot into fresh soil, and adjust your watering habits — give your plant the best chance at survival. Combined, they resolve the root of the issue (literally) and pave the way for a healthy future.
The biggest takeaway? Overwatering is the enemy. Less water, improved drainage, and a bit of patience can carry the day.
These guides to caring for indoor plants are here to take the mystery out of plant parenthood. Root rot is one of the most difficult problems in houseplants, but you’ve now got all the tools to manage it with confidence.
Go check on your plant. It might need you today.